In the world of video production, green screens have become an essential tool for creating dynamic and immersive content. From professional filmmakers to online content creators, the ability to transport subjects into different environments is both powerful and cost-effective. However, achieving seamless results requires more than simply hanging a green backdrop.
Conducting a proper green screen test ensures that your footage is free of shadows, color spill, and other common issues. This guide provides a structured, step-by-step approach to setting up a professional green screen environment and achieving high-quality results.
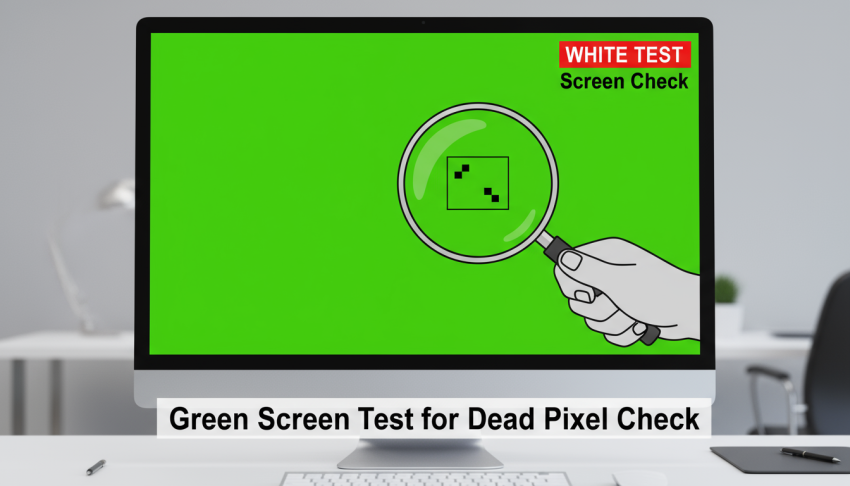
The Importance of a Green Screen Test
A well-executed screen test is vital to prevent errors during production. Without testing, inconsistencies in lighting, camera placement, and subject positioning can compromise the final output, resulting in additional work in post-production.
Testing allows you to identify and correct potential issues before you begin the full shoot. This approach not only saves time but also guarantees a polished and professional look in your videos.

Step 1: Selecting the Right Space
Choosing an appropriate location is the foundation of a successful green screen setup. Look for a space that provides adequate room to position the subject at a sufficient distance from the backdrop. A controlled environment with consistent lighting is essential.
Avoid areas with direct sunlight or flickering light sources. Keeping the surroundings neutral and uncluttered helps reduce unwanted reflections and ensures that the green screen functions effectively.
Step 2: Choosing Green Screen Material
The material you use for your green screen test has a direct impact on the quality of your footage. Common options include fabric, paper rolls, or painted walls. Fabric is portable and budget-friendly but may require ironing to eliminate wrinkles.
Paper rolls provide a smooth, uniform surface suitable for studio environments. Painted walls offer a permanent solution with minimal maintenance. Whichever option you select, make sure the backdrop is taut and wrinkle-free to prevent shadows or uneven coloring.
Step 3: Proper Lighting
Lighting is one of the most critical components of a professional green screen setup. Even illumination across the entire backdrop prevents uneven color and simplifies post-production keying. Position softboxes or LED panels to light the green screen evenly.
Additionally, separate lighting for the subject helps create a clear distinction between the subject and the background. Positioning lights at appropriate angles reduces shadows and minimizes color spill, resulting in clean and professional footage.
Step 4: Camera Setup and Positioning
Camera placement is essential to capture high-quality footage. Position the subject several feet away from the green screen test to avoid shadows and reflections. Ensure the subject remains fully within the frame and avoid cutting off parts of the body or props.
Using manual focus is recommended to maintain consistent clarity throughout the recording. Conducting a test recording allows you to evaluate framing, distance, and lighting before the full shoot.
Step 5: Wardrobe and Props
Selecting appropriate wardrobe and props is critical in maintaining a professional result. Avoid wearing green clothing or accessories, as they may blend with the green screen and create unwanted transparency effects.
Likewise, reflective props can pick up the green background and interfere with editing. Careful planning of wardrobe and props ensures clean footage and reduces post-production challenges.
Step 6: Conducting the Green Screen Test
A proper screen test involves recording a short sample clip to evaluate the setup. Check the following aspects: even lighting across the green screen, absence of shadows on the backdrop, minimal color spill on the subject, and accurate camera settings including exposure, focus, and white balance. Conducting this test allows you to make adjustments early and ensures smooth editing later.
Step 7: Fine-Tuning Your Setup
After reviewing your test recording, make necessary adjustments. Reposition lights to eliminate shadows or hotspots, smooth or replace wrinkled sections of the backdrop, and adjust camera distance or angles as needed.
Evaluate wardrobe and props and make changes to avoid reflections or blending issues. Minor refinements at this stage can significantly improve the overall quality of the final footage.
Step 8: Preparing for Post-Production
Once the green screen test confirms that the setup is optimal, prepare for post-production. Keep all equipment and backdrop positions consistent throughout the shoot. Label recorded footage for easy organization and document lighting and camera setups.
Proper preparation simplifies editing, making it easier to remove the green background and replace it with the desired scene.
Step 9: Expert Tips
Professional creators often employ a few additional techniques to enhance their green screen results. Using soft, diffused lighting ensures even illumination. Saturating the green color improves keying in post-production.
A rim light can help separate the subject from the backdrop, adding depth to the footage. Finally, testing the setup under actual shooting conditions helps account for environmental lighting changes and prevents surprises during recording.
Conclusion
A professional green screen setup requires careful planning, attention to detail, and thorough testing. Conducting a green screen test before the main shoot ensures consistent lighting, proper subject placement, and clean background removal.
By following this step-by-step guide, you can create high-quality videos that meet professional standards and enhance your content production. Proper preparation not only saves time in editing but also results in polished, visually appealing final footage.
Investing effort in setup and testing provides significant returns in the quality and professionalism of your videos. At White test screen check, we take an essential step in a Green Screen Test to ensure even lighting and accurate color representation.
We help identify any shadows, reflections, or uneven brightness on the screen. By doing this, you can achieve a cleaner keying process and better overall visual results.